Good pixel art animation is mostly timing, not drawing. A four-frame walk at the right fps reads smoother than an eight-frame walk at the wrong one, and most animations are 2 to 8 frames total. The skills are small and learnable: hold a pose to sell weight, ease the motion so nothing snaps, anticipate before the action, and use onion skinning to check that nothing jumps a pixel between frames. The editor's preview lets you test all of it before you export.
Fewer Frames, Better Motion
Pixel art animation runs on a tight budget. An eight-frame walk is a normal, even generous, cycle. A two-frame idle is enough to read as "alive". The beginner instinct is to add frames to make things smoother, but more frames mostly means more art to redraw every time you change the timing, and the eye barely notices the extra in-betweens at small sprite sizes.
The animation that matters lives in two numbers, not in a frame count:
- How many frames you draw, which sets how much information is there.
- How fast they play, which sets how that information feels.
An 8-frame walk at 12 fps loops in about two-thirds of a second, close to a real stride. The same 8 frames at 24 fps loop twice as fast and look like a shuffle. Same art, different motion. That is the whole craft: spend your effort on the poses and the timing, not on the frame count.
Frame counts that work. Idle: 2 to 4. Walk: 4 to 8. Run: 4 to 6. Attack: 3 to 6. Jump: 2 to 3. Anything past 12 is rarely worth the redraw. The full table with per-animation notes lives in sprite sheet basics.
The Pose Is the Animation
Before you touch a sprite sheet, block the poses. A walk cycle is really four key positions, and the in-between frames are just the route from one to the next:
- Contact - heel down, legs at their widest. The lowest point of the cycle.
- Down - the weight lands, the body sinks slightly as it absorbs the step.
- Passing - legs cross, body rises to its tallest point.
- Up - the body is at full height, about to fall into the next contact.
Draw those four and you already have a walk. Add four in-betweens and you have a smooth one. This is why a four-frame walk works at all: the brain fills in the rest.
The same "pose first" rule applies to every animation. An attack is anticipation (wind up), action (the swing), and recovery (settle back). A jump is launch, apex, land. Block those, then time them.
Timing: Hold the Important Frames
Motion that changes speed looks alive. Motion that plays at a constant rate looks mechanical.
The cheapest timing tool is the hold frame: repeat a pose so it stays on screen longer. The wind up before a punch is usually one held frame, not new art. Landing a jump and pausing for two frames sells the impact. Repeat the frame in the sequence rather than drawing a new one.
The second tool is easing: put more frames at the slow ends of a motion and fewer in the fast middle. A swinging arm spends more time at the top and bottom of its arc than it does cutting through the middle, so the in-betweens bunch up near the extremes. This is invisible until you see the contrast: a constant-speed swing looks like a metronome, an eased one looks like it has weight.
You do not need to know the words to use the ideas. Hold the pose you want people to see, and let the fast parts stay fast. That single habit fixes most lifeless animation.
Squash, Stretch, and Anticipation
Three more ideas that cost almost nothing:
- Anticipation - move in the opposite direction first. A character winds back before throwing, crouches before jumping. It is one extra frame and it tells the eye where the action is about to go.
- Squash and stretch - deform the volume, not the mass. A landing character squashes one pixel wider and shorter for a frame, then recovers. It reads as weight. Keep the volume the same: if it gets wider, it gets shorter.
- Follow-through - things keep moving after the main body stops. A cape, a tail, a ponytail. Even a two-frame lag on the head sells a run.
None of these require more than a frame or two, and all of them matter more than a higher frame count.
Build It in the Editor, Check It in the Preview
The editor is built around this exact loop: arrange the frames, then play them back before you commit to anything.
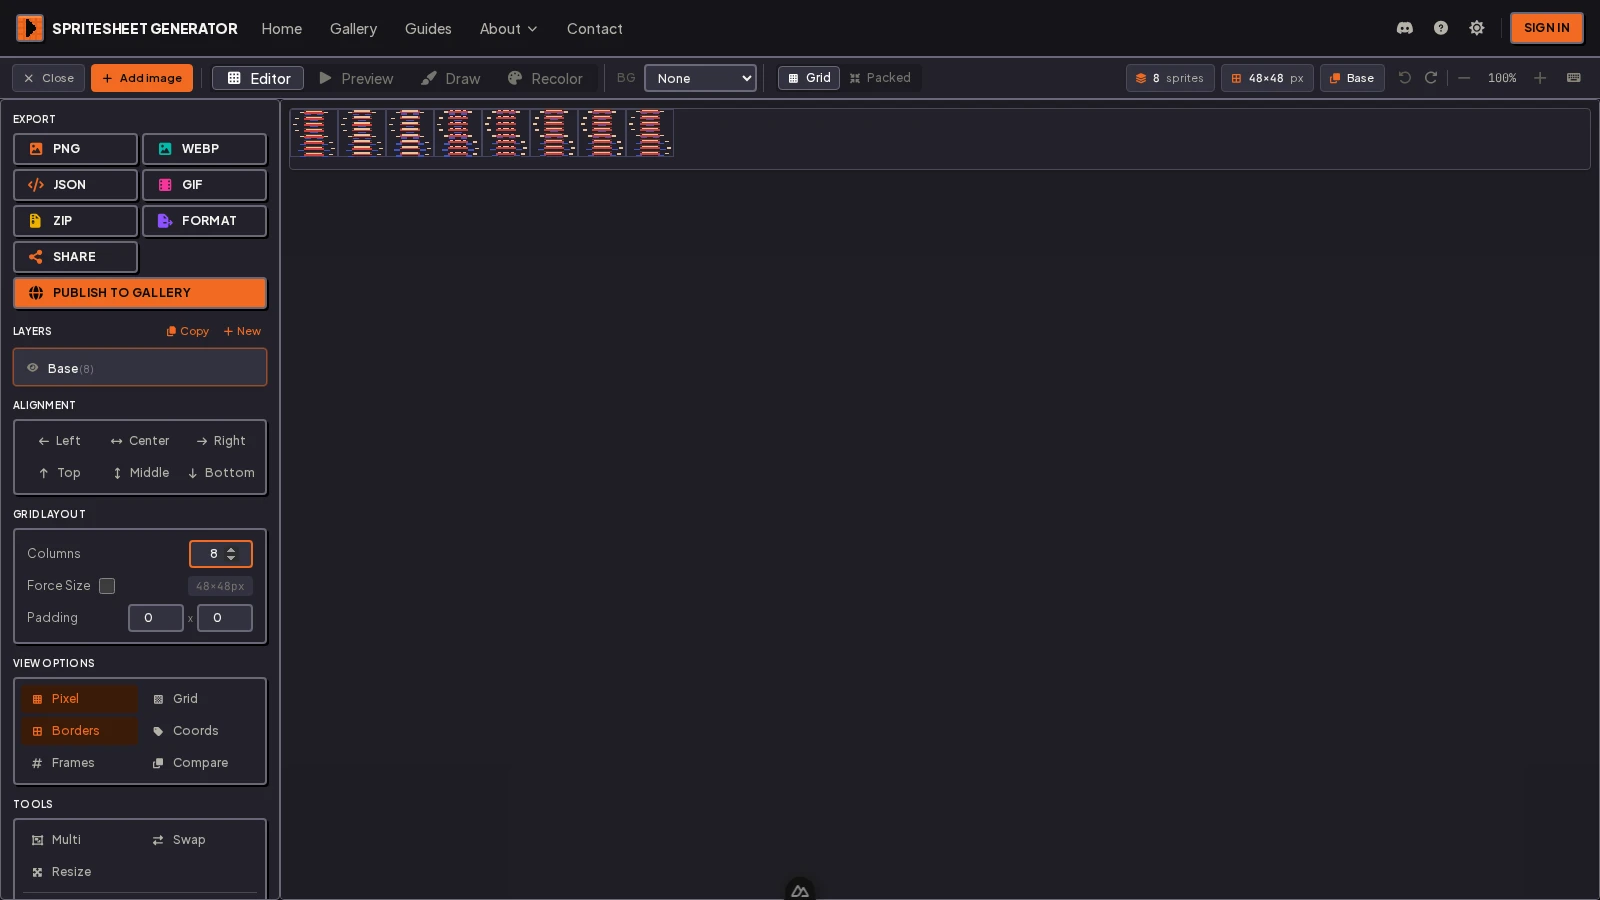
Arrange your frames in the Editor tab, then switch to Preview to see them move. Two controls matter most:
- Speed (FPS) sets the playback rate. Test at the rate your engine will actually use. The difference between 8, 12, and 24 fps is the difference between chunky, normal, and smooth, and getting this wrong in your head before you export is the classic animation mistake.
- Frame slider scrubs through the sequence one frame at a time so you can check a single pose without playing the whole loop.
The preview plays every visible frame in grid order. If a cycle looks scrambled, the frames are out of order on the canvas, not broken. Flip back to the Editor tab, turn on frame numbers, and drag them into sequence.
Onion Skinning: Your Best Reviewer
Frames standing alone never show the problem. It is the space between frames where a limb jumps a pixel, an eye shifts, or the head pops up for one pose. Onion skinning ghosts the neighboring frames behind the current one so you can see that gap directly.
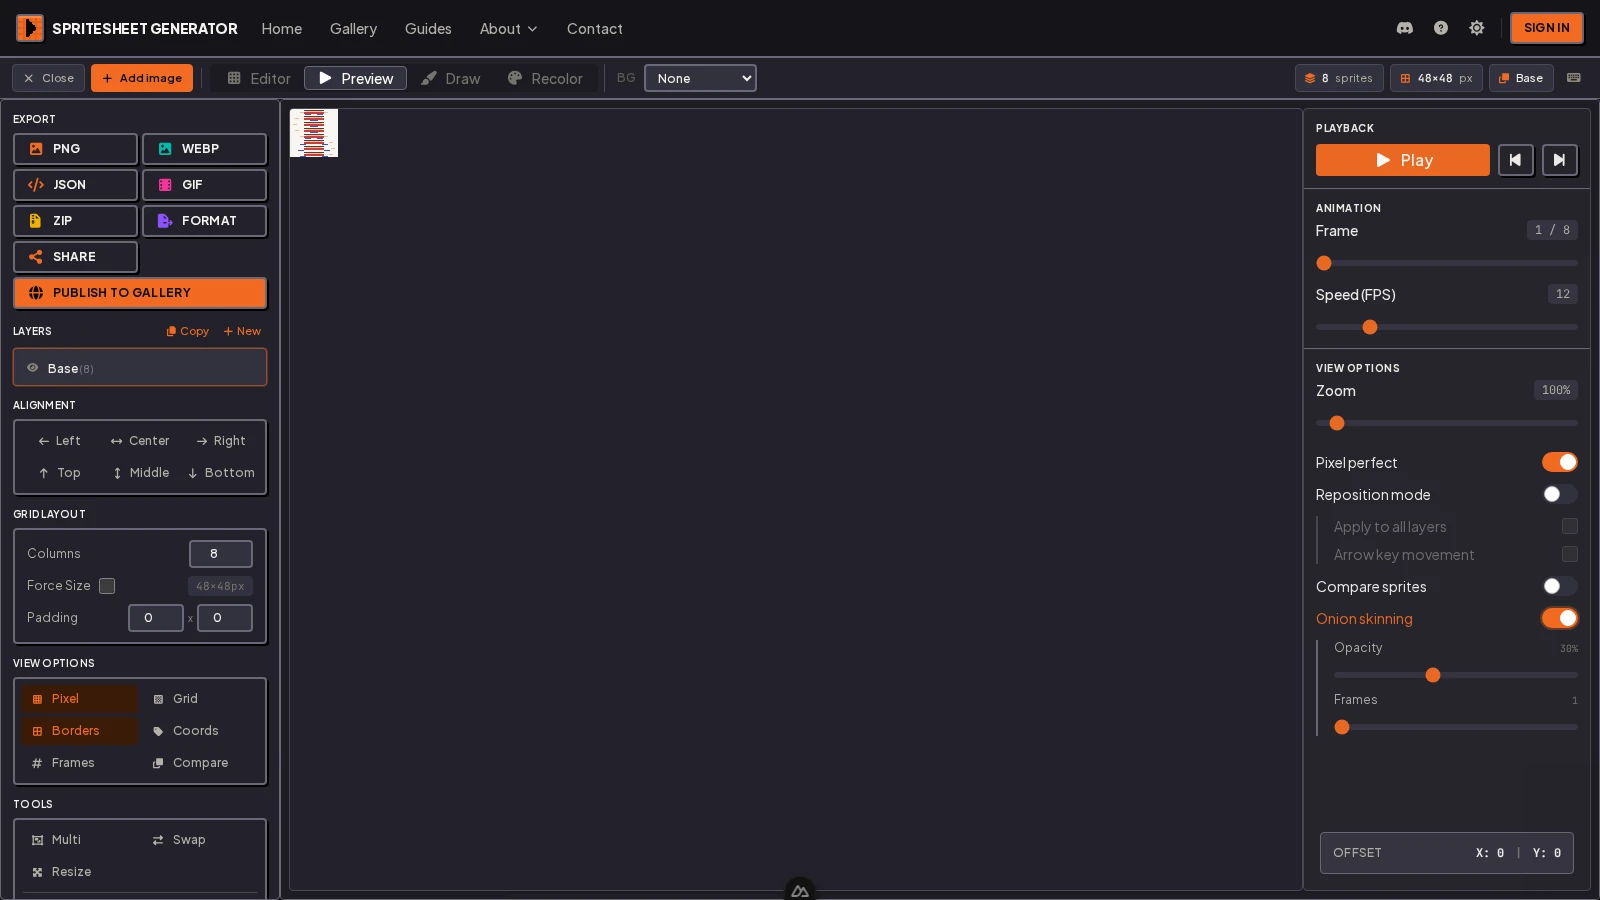
Turn on Onion skinning in the Preview's View Options. Previous frames appear in a warm tint, next frames in a cool one, and the current frame sits on top in full color. Two more controls tune it:
- Opacity sets how strong the ghosts are. Higher catches subtler jumps, lower is easier on the eyes when the pose is dense.
- Frames sets how many neighbors to show, up to three on each side. One is enough for most checks.
Walk through the timeline with onion skin on and you will catch every twitch before it ships. This is the cheapest quality pass in pixel art, and it is exactly what you lose when you animate blind in a static image editor.
Compare sprites is onion skinning's blunt cousin: it dims every frame onto the canvas at once so you can see the full arc of a swing or a jump spread out. Use it to sanity-check the overall motion, then go back to onion skin for the fine detail.
The Frame Tools That Save You Redrawing
The editor's Frame Tools do the repetitive parts of animation so you do not have to:
| Tool | What it does | When you want it |
|---|---|---|
| Reverse | Flips the frame order | A cycle that runs backwards from what you drew |
| Bounce | Ping-pongs the frames (1,2,3 -> 1,2,3,2,1) | A pendulum, blink, or anything that returns |
| Dupe | Duplicates the last frame | Turning one pose into a hold frame |
| x2 | Doubles every frame in order | Slowing a cycle down by holding each pose |
| x2 Rev | Doubles every frame, then runs them backwards | A loop that plays out and back in one pass |
| Clean | Removes empty frames | Deleting the blanks a bad split left behind |
These are the shortcuts that make a four-frame walk into a smooth loop without drawing a fifth frame. Bounce a four-frame walk and you get a seven-frame cycle; dupe a contact frame and the foot lingers on the ground the way a real step does.
The Check You Run Before You Export
Before you write the PNG, do this pass in order:
- Play the loop at the engine's fps. Does the timing hold at the speed it will actually run?
- Turn on onion skinning and scrub. Does anything jump a pixel between poses?
- Watch at 1x zoom, not 400%. A sprite that only reads zoomed in needs better poses, not more pixels.
- Check the frame order. Numbers on, and a walk cycle should never teleport a limb.
Then export. The getting started guide covers the export settings for each engine, and pixel-perfect scaling makes sure the motion you just tuned is not blurred away in the build.
Animate it, then see it move before you ship.
Drop your frames in, set the fps, and scrub the loop with onion skinning on. Free, in the browser, no account.
Questions
How many frames does a walk cycle need? Four reads fine, eight reads smooth. Block the four key poses first, then add in-betweens only if it needs them.
What fps should pixel art animation play at? Start at 12. Drop to 8 for a retro feel, push to 24 for fluid motion. Test in the preview at the rate your engine uses.
What is a hold frame? A frame repeated in the sequence so a pose lingers on screen. It sells weight and anticipation, and it costs no new art.
What is onion skinning? Ghosting the neighboring frames behind the current one while you work, so you can see whether anything jumps a pixel between poses. The editor shows previous frames in a warm tint and next frames in a cool tint.
Do I need squash and stretch in pixel art? Not always, but a one-pixel squash on landing and a one-pixel stretch on the rise add weight for almost no work. Keep the total volume the same.
How do I check timing without exporting? Use the Preview tab's Speed (FPS) slider and frame scrubber. It plays the exact frames in the exact order the engine will get.
Screenshots taken in the Spritesheet Generator editor. Frame counts and fps figures come from shipping 2D animation in Godot and Unity.
Try it in the editor
Everything in this guide runs in the browser. No install, no account, and your images never leave your device.