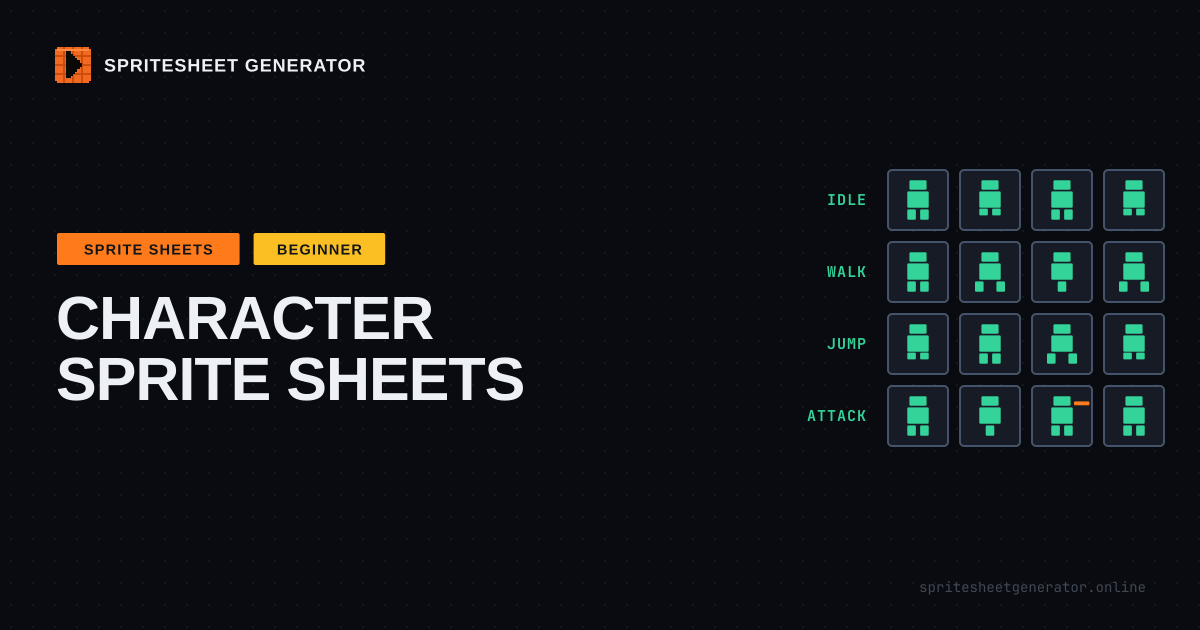
List what your character does in gameplay, and each verb becomes an animation. Most 2D characters ship with fewer than ten: idle, walk or run, jump (rise and fall), attack, hurt, and death cover a full platformer. Size every cell for the biggest pose, keep the feet on the same pixel row in every frame, give each animation its own row, and draw one facing direction and let the engine mirror it. Start with four animations and add the rest once the game tells you it needs them.
Start From the Verbs, Not a List
The fastest way to burn out on a character is to download someone's "complete animation list" and start at the top. Forty animations at six frames each is 240 drawings, and you have not finished a single level yet.
Go the other way. Write down what the player actually does with the character. Run, jump, swing a sword, get hit. That is the list. Every verb the game can trigger needs an animation, and nothing the game cannot trigger does.
A second pass catches the states the player never chooses but always sees: standing still, falling off a ledge, taking damage, dying. Those are the ones people forget, and the character looks broken without them. A hero who freezes mid-stride when you let go of the stick reads as a bug.
The Core Set
Here is what a typical side-scrolling character ships with. The frame counts are the normal range at 8 to 12 fps, not a rule.
| Animation | Frames | Loops? | What it is for |
|---|---|---|---|
| Idle | 2-6 | Yes | Breathing, blinking. Proves the character is alive |
| Walk | 4-8 | Yes | Basic movement. Four frames is enough for small sprites |
| Run | 6-8 | Yes | Faster movement, more lean, longer stride |
| Jump | 1-3 | Hold last | The rise. Often one frame is enough |
| Fall | 1-2 | Yes or hold | The descent, split from jump so the game can switch at the apex |
| Land | 1-2 | No | A quick squash on impact. Optional, but it sells weight |
| Attack | 3-6 | No | Wind-up, strike, recovery |
| Hurt | 1-2 | No | A flinch. Usually paired with a flash or knockback in code |
| Death | 4-8 | No, hold last | Ends on a pose that can stay on screen |
Four of those get you a playable prototype: idle, walk, jump, hurt. Everything else can be a placeholder until you know the game is fun.
Splitting jump into rise and fall is worth it even for tiny sprites. Your physics code already knows whether vertical speed is positive or negative, so it can pick the animation for free. One combined jump animation has to guess how long the player will be in the air, and it will be wrong every time the jump height changes.
How Many Frames Is Enough
Fewer than you think. A four-frame walk at the right speed reads as walking. At 16x16 or 32x32 the eye cannot follow eight in-betweens anyway, and every extra frame is one more drawing to redo when you change the design.
Spend frames where the motion is big, not where it is long. An attack swing covers a lot of distance in a short time, so it benefits from a smear frame. An idle covers almost no distance, so two frames held for half a second each is plenty. The pixel art animation guide goes deep on timing, holds, and why a walk cycle has the shape it has.
Attacks Have Three Parts
If your game has combat, it helps to think about attacks the way fighting game designers do. Every attack has three phases:
- Startup is the wind-up. The sword goes back. This is the warning the other side gets, and longer startup feels heavier.
- Active is the strike itself, the frames where the hitbox exists. Often just one or two.
- Recovery is the follow-through. The character is vulnerable while the sword comes back to rest.
Tie your hitbox to the active frames, not to a timer, and the animation and the gameplay can never drift apart. It also gives you a design lever that costs no art at all: hold the startup frame for longer and the attack becomes slower and more readable without drawing anything new.
Directions and Mirroring
A side-scroller needs one facing direction. Draw the character facing right, then flip it in the engine when it turns around. Every engine supports this: flip_h in Godot, flipX on a Unity SpriteRenderer, setFlipX() in Phaser. It halves the art.
Top-down games need more. The usual options:
| Setup | Drawn directions | Mirrored | Total rows per animation |
|---|---|---|---|
| 4-way | Down, up, side | Side for the other side | 3 |
| 4-way, no mirror | Down, up, left, right | None | 4 |
| 8-way | Down, up, side, two diagonals | Side and diagonals | 5 |
8-way looks great and costs roughly twice the art of 4-way. Most indie top-down games ship 4-way and nobody complains.
Mirroring swaps everything, including things that should not swap. A sword in the right hand ends up in the left. An eye patch changes eyes. A side parting jumps across the head. For most characters players never notice. For a character with a strongly one-sided design, draw both directions.
Pick One Cell Size for Everything
Every frame of every animation should sit in the same size cell. This is the single decision that saves the most pain later.
Size the cell for the biggest pose, not the idle. The idle might fit in 24x32, but the sword swing reaches 20 pixels further and the jump tucks the knees up. If you size for idle, the attack frames get clipped or end up in a differently sized cell, and the character visibly jumps sideways when the animation switches because the engine anchors each cell the same way.
So find the widest and tallest frames across all animations, add a pixel or two of margin, and use that for every cell. The sprite size table has the usual sizes if you are starting from nothing.
Keep the Feet on One Row
The other half of a clean character: the feet have to land on the same pixel row in every frame of every animation. That row is your baseline, and it is usually where the engine pivot sits.
If the idle stands on row 30 and the walk stands on row 31, the character sinks one pixel every time it starts walking. It is a tiny jitter, and once you see it you cannot stop seeing it. Jumps are the exception, of course: there the feet leave the baseline on purpose.
In the editor, Alignment snaps every sprite to an edge of its cell. Set it to the bottom and frames drawn at slightly different heights all sit on the same floor. Then set the pivot in your engine to the bottom center of the cell, and the character's position in code is literally where its feet are.
Lay It Out One Animation Per Row
The layout that works in every engine:
- One row per animation, top to bottom
- Every row starts at the left edge
- The sheet is as wide as the longest animation; shorter rows just end early
- For top-down, one row per animation per direction (idle-down, idle-up, idle-side, walk-down, and so on)
A sheet laid out like that is self-documenting. You can open it, count frames along a row, and know exactly what the engine needs. It also maps directly onto how engines think: a Phaser animation is a frame range, a Godot SpriteFrames animation is a list of frames, and both are easy to define when "walk" is simply "row 2, frames 0 to 7".
The alternative is one sheet per animation: hero-idle.png, hero-walk.png, and so on. That is easier to work on and swap out, at the cost of more texture loads. For a single player character the difference is small, so pick whichever you will actually keep organized. For many enemies on screen at once, a single sheet per character is the safer default.
Building It in the Editor
If your animations exist as separate GIFs or frame folders, the editor can turn them into one sheet:
- Import each animation in order. GIFs split into frames on import; folders of PNGs become one frame per file. The GIF guide covers the conversion in detail.
- Set Columns to the frame count of your longest animation. Frames fill the grid in order, so a shorter animation leaves the next one starting mid-row. Fix that by right-clicking the first frame of the next animation and choosing Insert empty frame before until it starts at the left edge. Each click pushes that frame and everything after it one cell along.
- Set Alignment to the bottom so every frame stands on the same baseline.
- Check each animation in the Preview tab. The frame list has a checkbox per frame; uncheck everything except one animation's frames to watch that one loop on its own at its real FPS.
- Export the PNG, plus the format your engine reads. The Godot export writes all frames into one animation called
default, so split it into idle, walk, and the rest in the SpriteFrames panel. In Phaser, define each animation as a frame range on the same texture.
A Character Planning Checklist
Before drawing the second frame of anything, have answers to these:
- Which verbs can the player trigger, and which states can they see?
- Which four animations ship in the prototype?
- One direction plus mirroring, or more?
- What is the biggest pose, and what cell size fits it?
- Which pixel row is the baseline?
- One sheet per character, or one per animation?
None of these take long to decide. All of them are slow to change after fifty frames are drawn.
Got the frames? Put them on one sheet. Open the editor
Try it in the editor
Everything in this guide runs in the browser. No install, no account, and your images never leave your device.